Hello friends. I’ve been a busy bee here and there. I made a little stitch book and a few folks expressed a desire to see a tutorial. DISCLAIMER : Mine is not perfect , there may be an easier , more professional looking way, and I’m not the greatest seamstress in my sewing machine. But here it is anyways. You may choose and fabrics any added touches , better materials etc. this is really just a “ show and tell “… lol
Ok. Here goes. I started with a cereal box. My needle on my sewing machine goes through the thickness of this cardboard along with fabric really well.
Take it apart , and figure how big you want your book.
Turn it so that the “ extra flap will be on your right side. Keep that in mind as you go along.
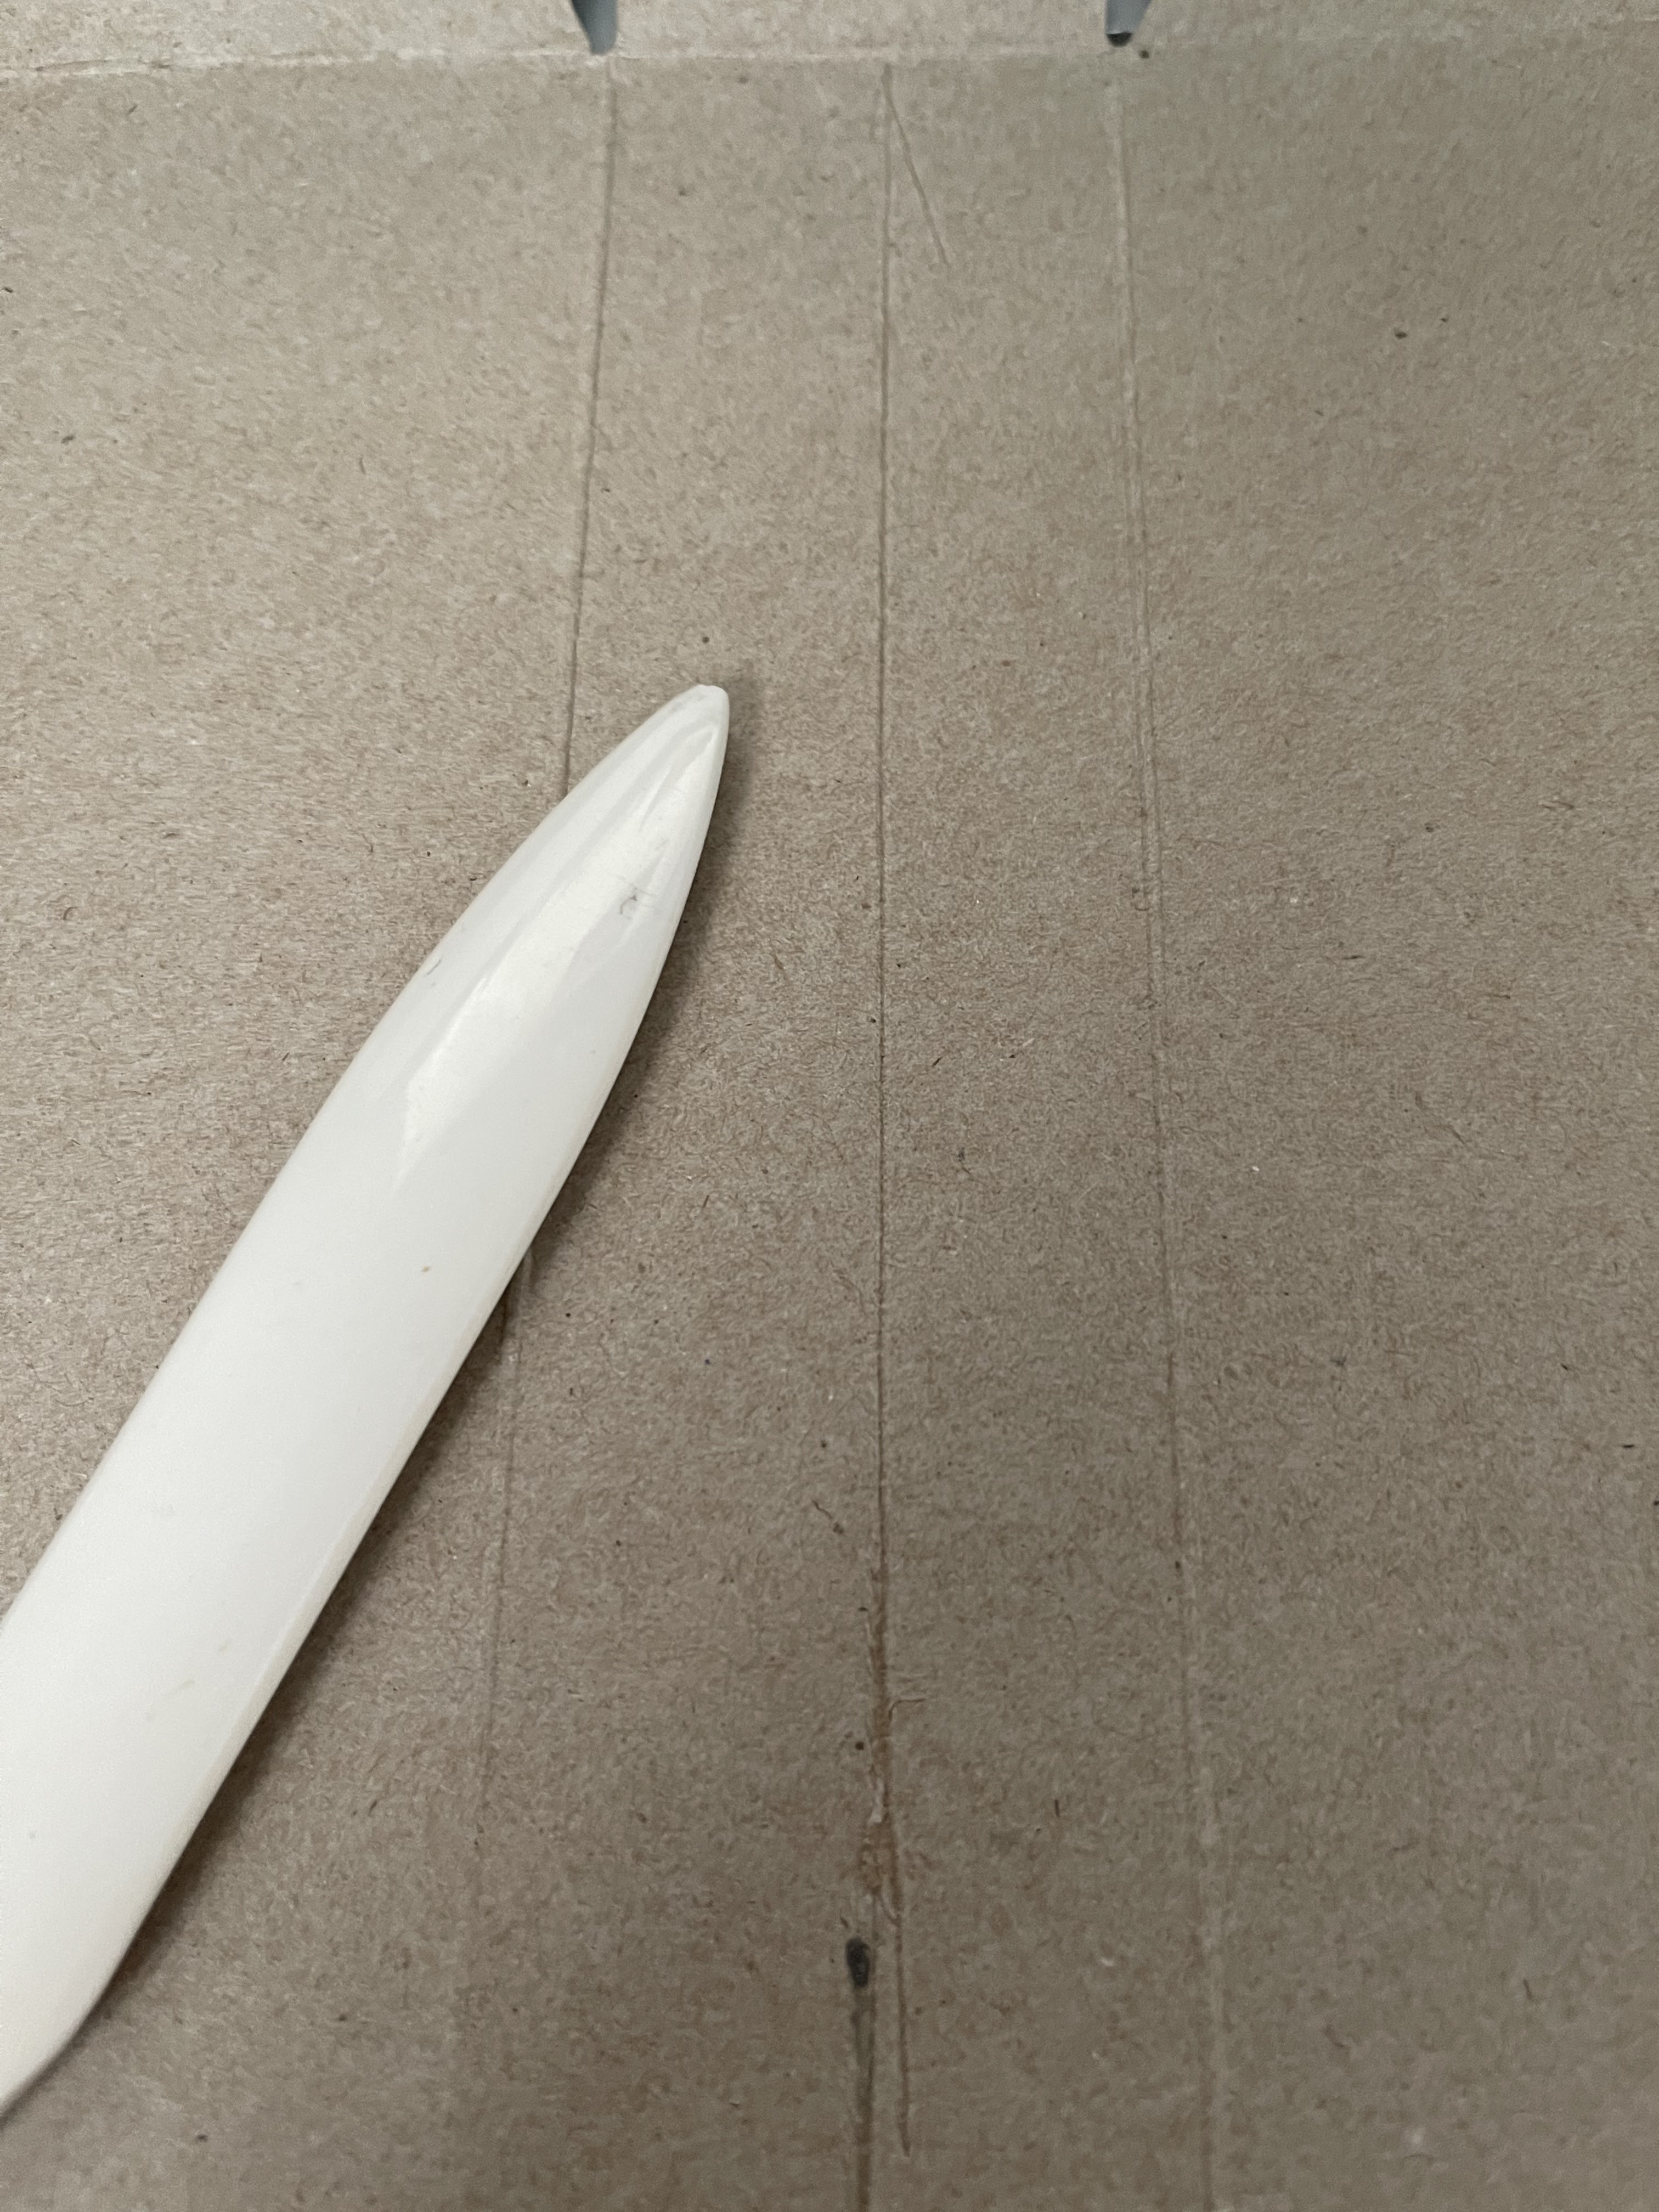
I used a “ bone folder to make a crease down the middle of the piece of cardboard. This just allows it fold up better especially once you add fabric to the outside and inside. “ you can use any narrow blunt object to make your crease “
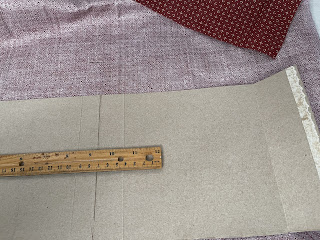
Cut the extra tabs off on the bottom of the cardboard. Remember you want to keep the extra flap tab on the right side , and cut your cardboard to desired height. I want my stitches pages to fit with just a scant 1/4” at top and bottom.
I made mine 16 3/4” x 6 1/2”.

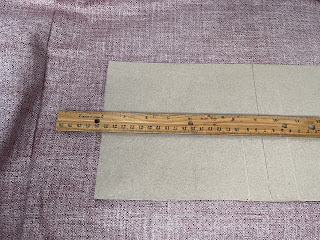

Choose your outside cover fabric. Cut it the size you need , adding 2” to all sides. Run glue around the sides and fold over onto the cardboard. You only need the glue to temporarily hold the fabric in place. You’ll be sewing the fabric onto the cardboard with your sewing machine.
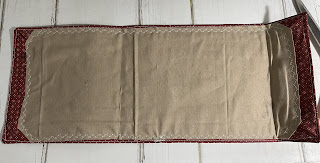
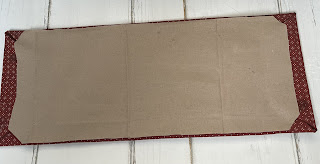
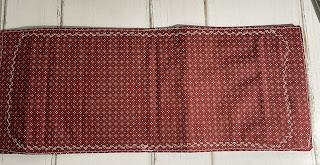
Note : my pictures aren’t loading in order but I hope you get the jist.
Cut your inside fabric of choice , and mine is not the greatest. I was having troubles with my fabric scissors I need a new pair.
Tack it down slightly with glue and I used the fancy stitches and white thread on this one , and sew through the fabric and cardboard all the way around.
I did do an extra straight stitch on my sewing machine all the way around. I like it cause it really stabilizes the fabric onto the cardboard and gives a more finished look.
Like I said , I can’t seem to get my photos to load in order….
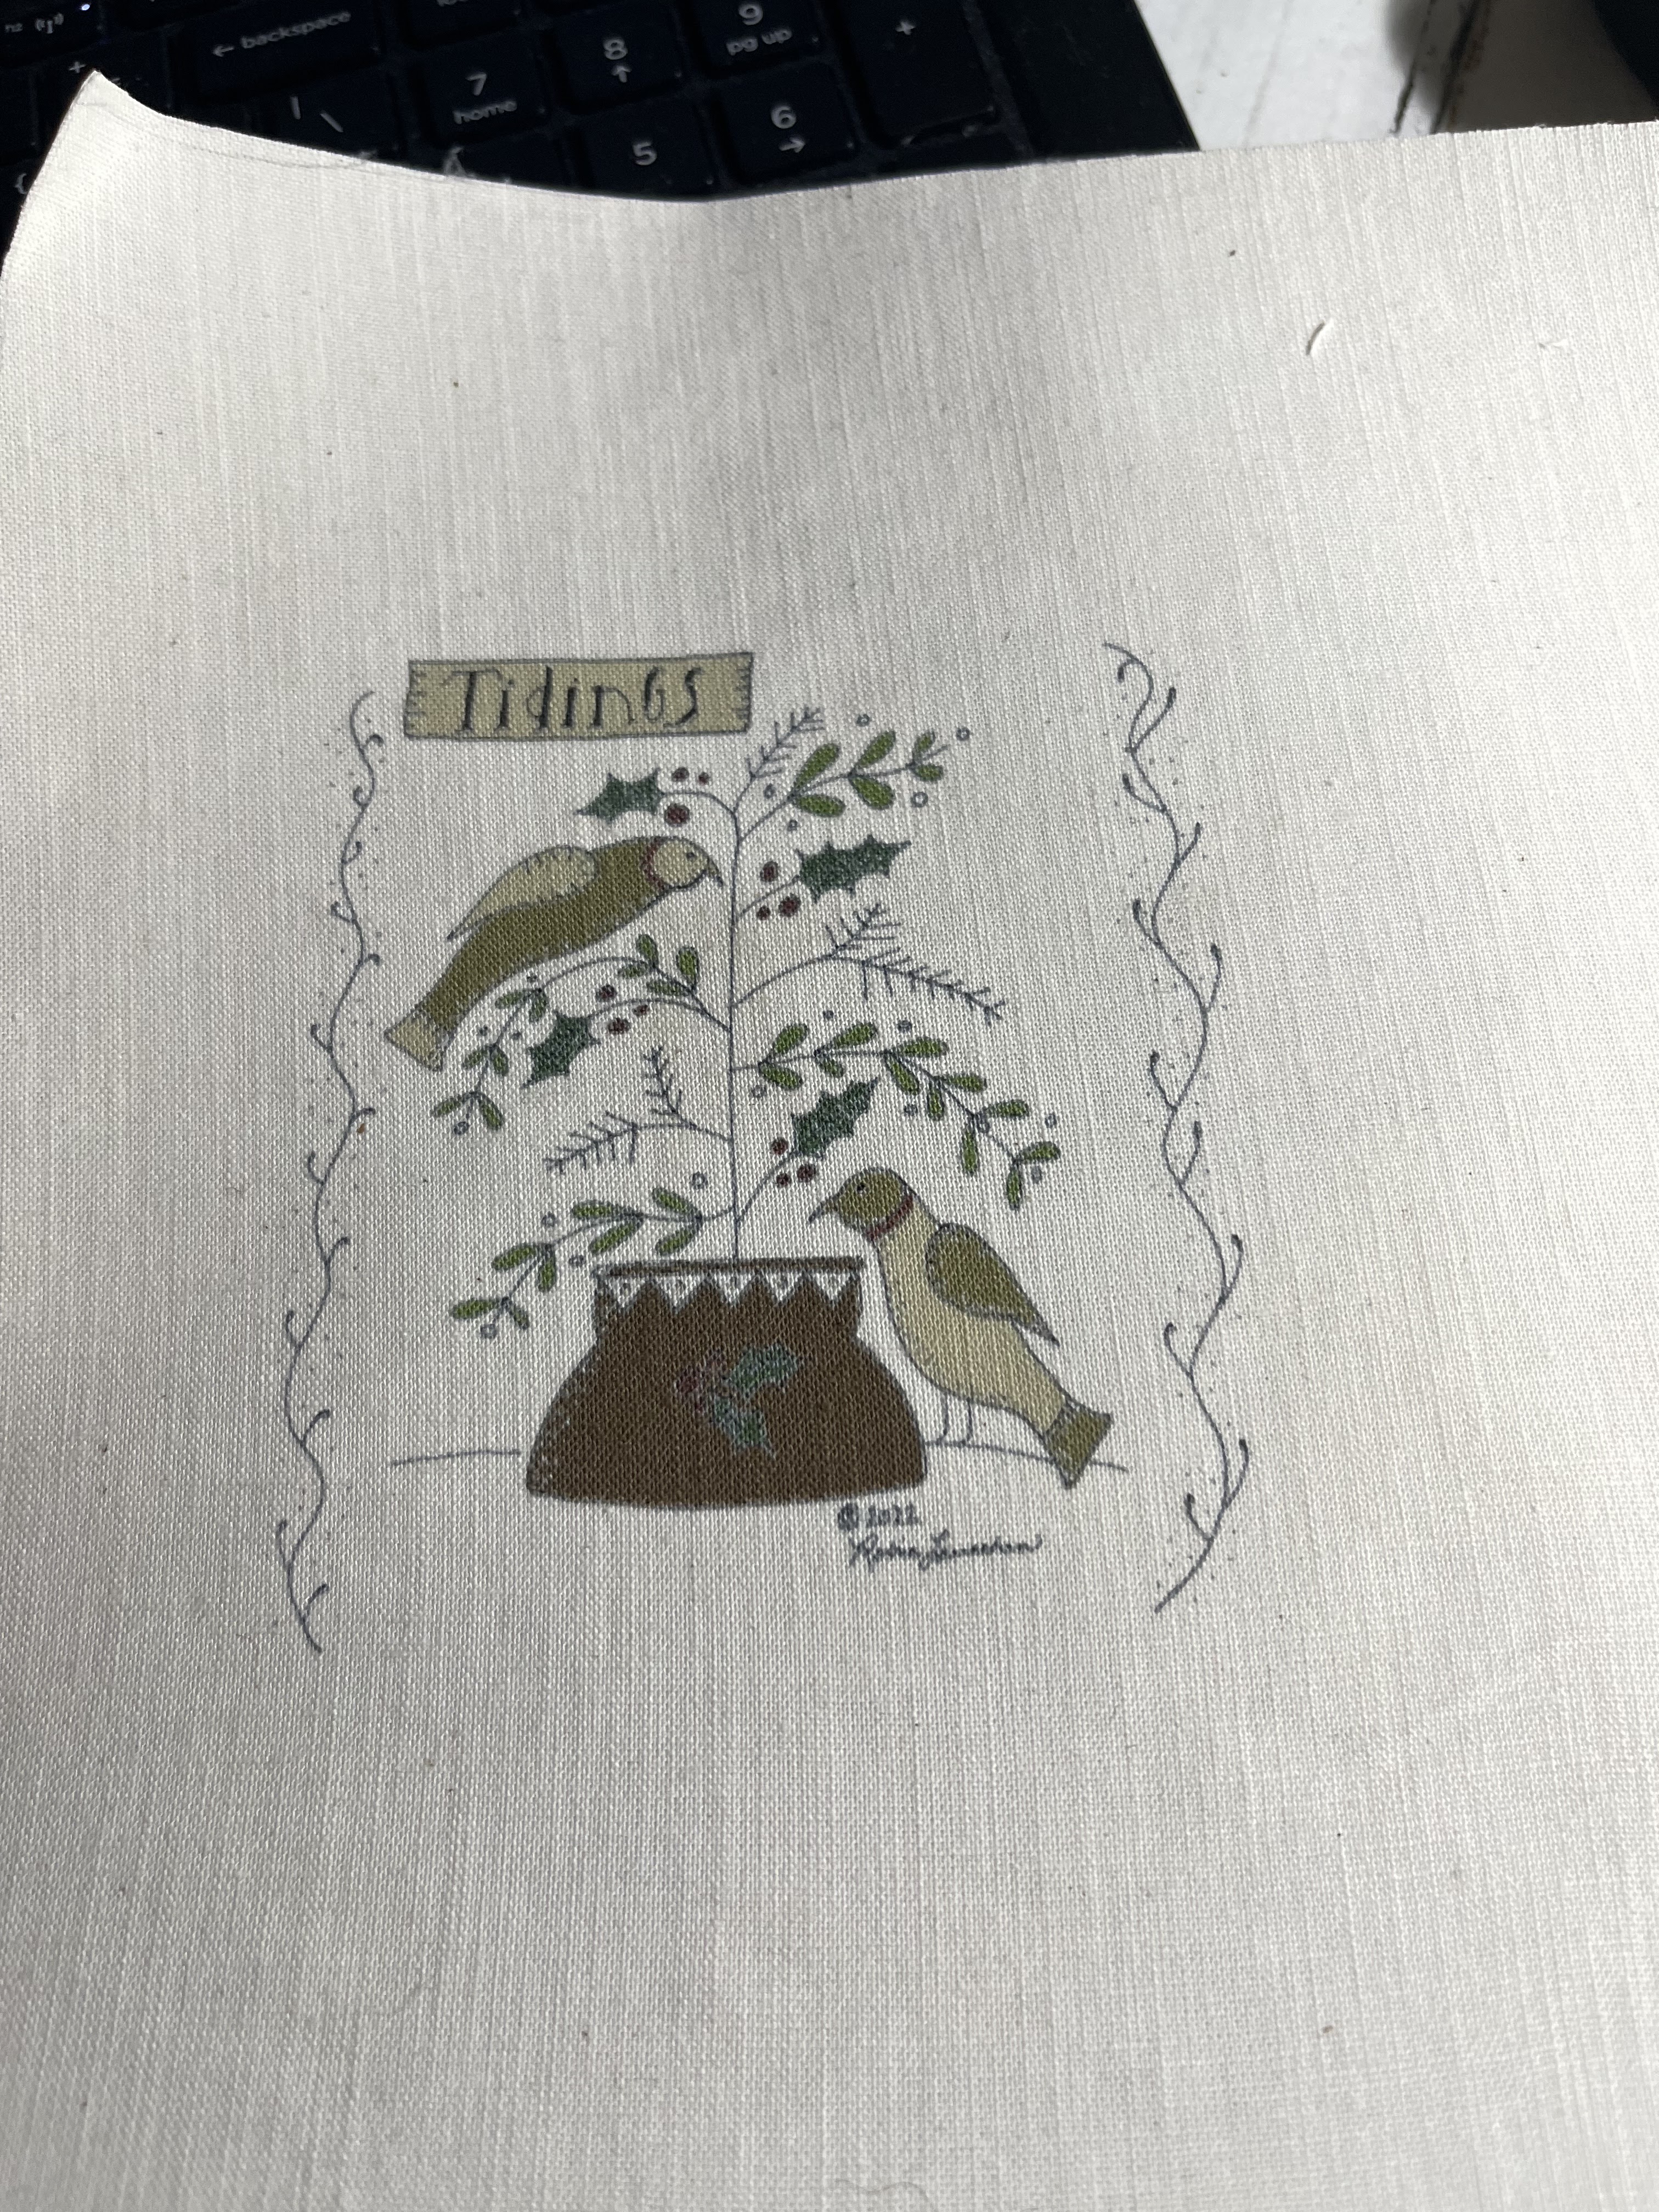
But download and save the two drawn images to your computer if you want to use them. Here is a quickie tutorial on printing from your computer and printer into fabric.
I used weavers cloth rather than plain muslin. It seems to have a tighter weave and it’s thicker/ more stabile.
Cut a piece of fabric and freezer paper larger than a piece of regular computer paper.
Iron the fabric into the shiny side of the freezer paper. Trace your printing paper/ computer paper onto the freezer paper. Cut it out. This gives you nice trim edges with no fraying.
For my printer, I stuck it in the paper drawer cloth side down.
I resized the image to 4” x 6” ….
Hit print …. Voila
I used the Holly image , cut out , for my template to trace onto the printed image on the cloth , and cut it out I had to tweak it to make it even…. You can cut in an oval or how much or how little you like , just so it fits into the front and is not covered up when you fold the flap over on the right. ….. peel it off the freezer paper …..
Next ….. I ironed it onto some fabric stabilizer just to give it a little “ heft “ and dimension ….
This next step you might want to skip , unless you are using a specific print on fabric that can be purchased at JoAnns or online …. Regular fabric printed in will NOT hold the ink , so don’t dunk in coffee or tea this is what it will end up looking like
Trim off excess stabilizer and I dunked it into a cup of instant coffee ….**** only do this if you are using crafter printing fabric ****…. Squeeze out excess fluid with paper towels and iron it some more … the image will fade slightly , but most ink will not run but will fade slightly ….
Take your image and center on front cover but make sure the image isn’t covered by the flap on the right
Stitch into the fabric using whatever thread you desire I used some off white coats and Clark all purpose thread
Now print off this drawing of the Holly and berry …..
Trace into freezer paper. Iron onto green wool for Holly and red for berry. Trim excess paper and peel off. I fold the Holly and berry in half and use tiny scissors to cut small narrow area out to make the hollow inside of each. Place into the top of the cover design and just stitch into place as shown.
You can now attach a rusty bell if you wish … thread through the top of the bell a few times and stitch through the fabric cover. Make a small knot in thread, and hide your knot by stitching through the fabric till you hear the pop.
Now the button. Choose a nice size button and I used Valdani perle cotton thread. Use a nice sturdy long needle. Poke up through the inside of the flap first , make sure your string or thread is long enough to wrap around the book at least twice long ways. Stitch through the fabric and cardboard a few times bringing the needle inside the flap. Pull the needle out. Leave the long piece to wrap around the book and the button to hold it closed. Tie a few knots and trim excess from short end of thread.

Close the book , put the flap over , wind you long thread over the book long ways then around the button once and it holds the book closed ….
Here is another design along with the Holly if you choose to use it to stitch up to get you started on your own Christmas stitch book.
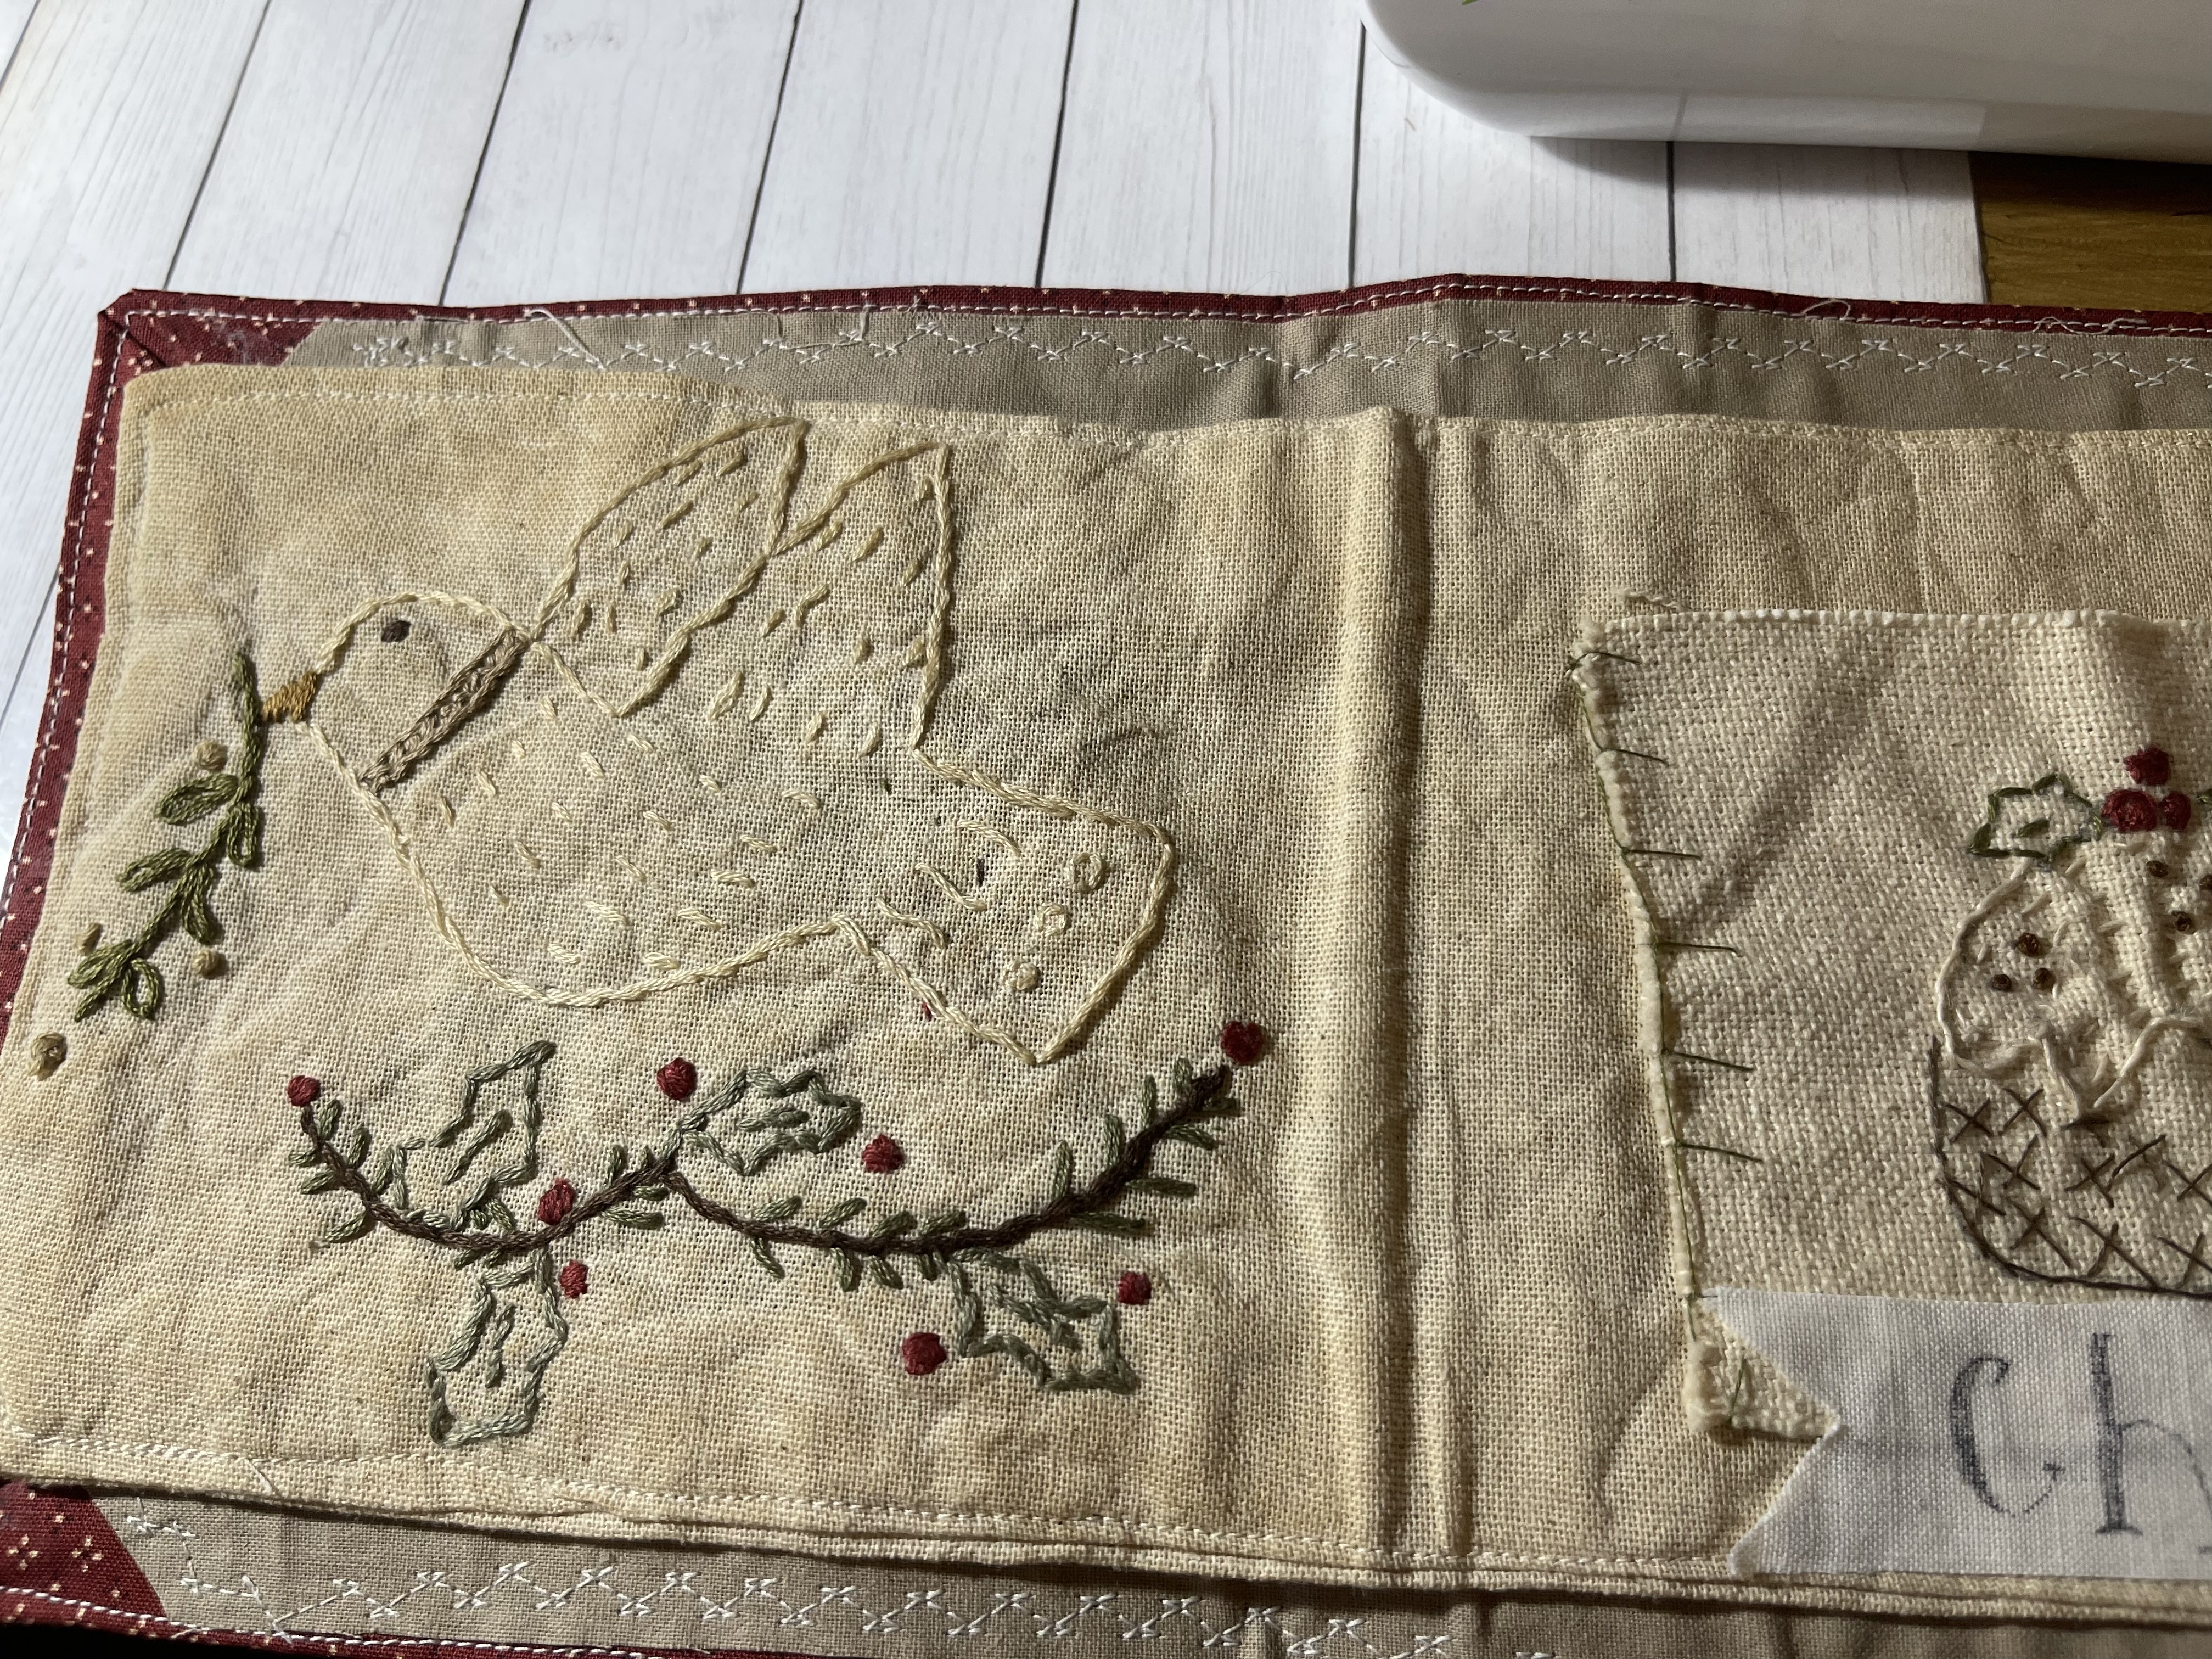
You can leave your edges raw on the cloth pages , I chose to sew 2 pieces all the way around and turn inside out , then sew very close to the edges just to give it a finished look.
I recommend doing you stitching of your designs first . I made the mistake of stitching the Holly on the front of mine after I stitched it together , and had to be careful to only go through the top layer of fabric. I did catch the bottom design a few times. Lol
Lay your finished pages flat on the inside of your book.
Stitch right into the book on your sewing machine.
****** PLEASE LEARN FROM MY MISTAKE ****
I inadvertently stitched through my one holly leaf.
That’s what I get for being in a hurry.
Make sure your holly leaves are out of the way. Lol.
Please also , excuse my typo’s , photos not being in order / sequence.
If you do this little project , I’d love to see your finished item 😉💕💕💕
ENJOY !!!